
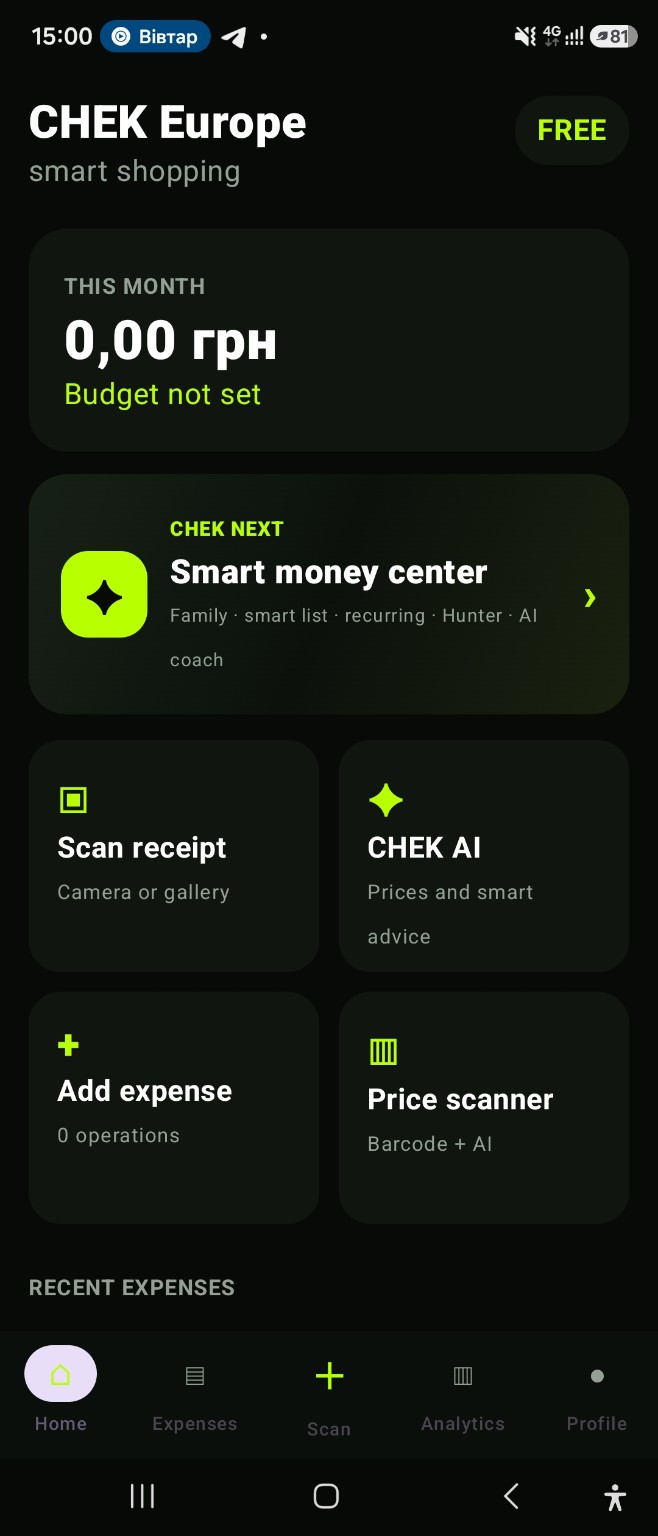
Use your camera or an existing photo
Open receipt scanning from the home screen. Photograph the receipt or select an image from your gallery. Include the whole receipt, flatten the paper and avoid glare. A clear image makes item names and totals easier to read, especially on long or faded receipts.
Review before saving
Recognition helps transfer information, but it can make mistakes. Compare the item names and total with the original receipt. Pay particular attention to discounts and unclear lines. This check helps your purchase record reflect the amount you actually paid.
Find purchase details later
After saving, return to the receipt details when you need to recall what you bought. For items with a warranty, the profile includes a separate tool for recording the product and warranty duration. Keep original documents when a retailer or manufacturer requires them.
Keep tracking even without a receipt
Receipt scanning is not the only way to add spending. Enter an expense manually when the paper is missing or the photo is unreadable. Check your history first so that you do not accidentally record the same purchase twice.
App and feature availability can vary by country, version and data source. Price search does not guarantee coverage of every retailer. Check Google Play for installation availability after launch.